

When a new computer arrives, many people check only that it powers on and has no visible scratches before installing software and transferring files. A few days later, they may discover a dead pixel near the edge of the screen, an intermittently unresponsive key, a webcam that will not open, or a microphone that records at an unusually low volume.
Similar issues are even more common when buying used computers and peripherals. A seller may say everything “works properly,” but it is often difficult to know whether the keyboard, mouse, headset, game controller, and webcam have actually been tested one by one.
Fortunately, you do not need to install a full suite of diagnostic software to check these basic functions. If the browser works, you can use online tools for an initial device check.
Toolkk has collected the most useful tests in its Device and Hardware Testing Toolkit. This guide walks through 12 tools, explains what each one checks, shows how to spot potential problems, and clarifies which issues cannot be diagnosed through a web page alone.
What Can Online Hardware Tests Check—and What Can’t They?
Browser-based tests are best for checking basic input, output, and permission status, including:
- Bright pixels, dead pixels, discoloration, and other visible display problems;
- Whether every key or button on a keyboard, mouse, or game controller registers correctly;
- Whether the left and right headphone channels are reversed or one side is silent;
- Whether the operating system and browser can detect the microphone and webcam;
- Whether the browser can access GPU and WebGL information;
- Whether a MIDI device is connected and sending key events.
However, browser tests cannot replace dedicated hardware diagnostics. You will still need system utilities or specialist software to check drive SMART health, battery cycle count, CPU and GPU temperatures, memory stability, fan speed, and performance under sustained load.
The most practical approach is to start with a quick online check. If you find a clear problem, follow up with driver checks, testing on another device, or professional diagnostic software for the affected component.
1. Start with the Display, Webcam, and GPU
Display defects are usually the easiest to notice—and the most frustrating to deal with after the return window closes. When unboxing a new computer, check the screen first, followed by the webcam and graphics capabilities.
1. Dead Pixel Test: Find Bright and Dark Pixels with Full-Screen Colors
The Dead Pixel Test cycles through solid black, white, red, green, blue, and other colors. Switch to full-screen mode, then slowly inspect the center, corners, and edges of the display.
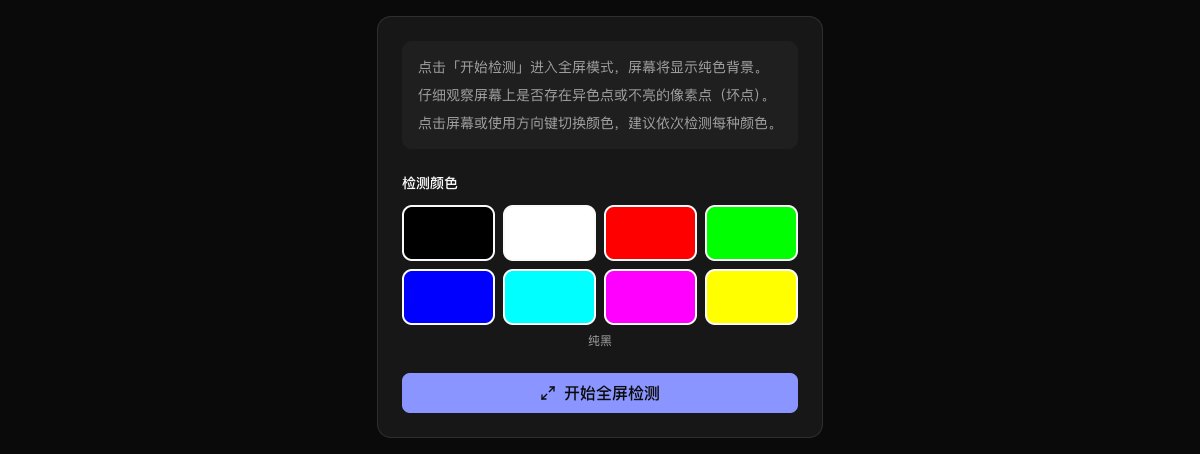
Look closely for:
- Pixels that remain bright on a black background;
- Black pixels that do not light up on a white background;
- Pixels that look noticeably different on red, green, or blue backgrounds;
- Discolored patches, uneven brightness, flickering, or unusual lines.
Clean the screen before testing, as dust and fingerprints can easily be mistaken for defective pixels. It also helps to dim the room and inspect the display once at high brightness and again at a medium setting.
2. Webcam Test: Check Permissions, Video Quality, and Resolution
The Webcam Test checks whether your browser can detect the camera and displays a live preview with basic device information.
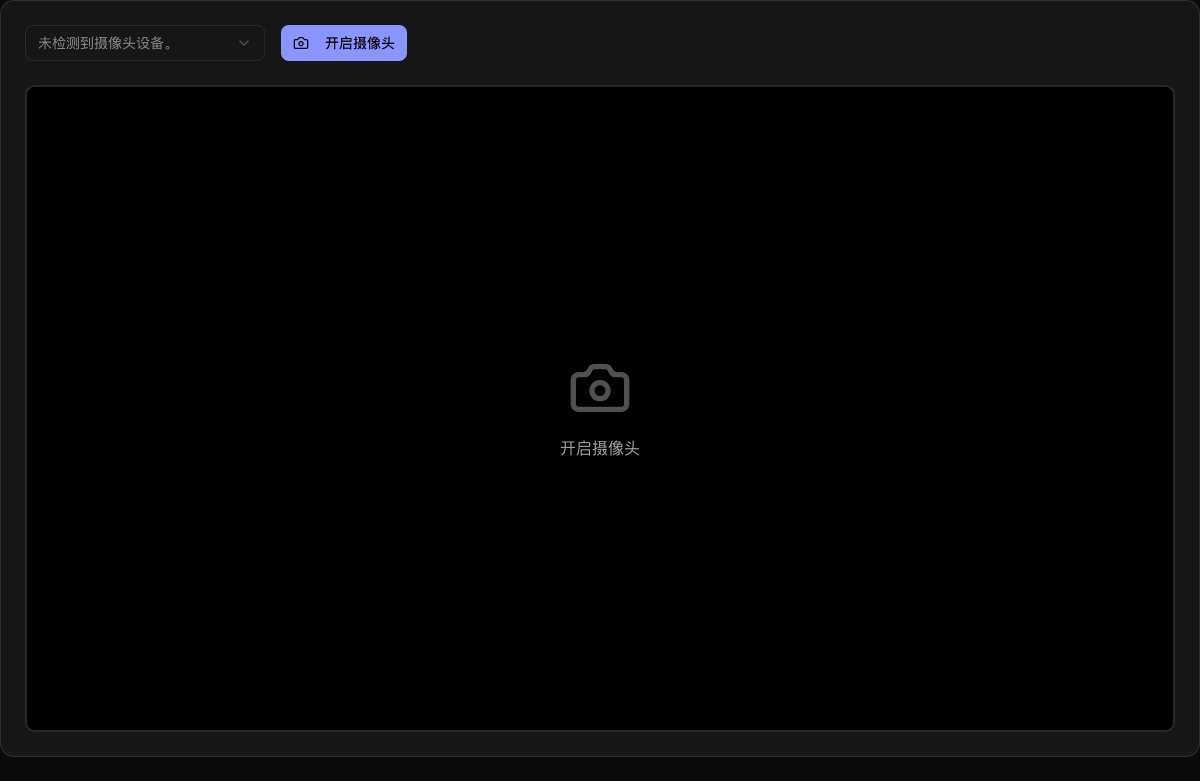
When prompted, allow the site to access your camera. Once the preview appears, check:
- Whether the camera opens normally instead of showing a black screen or loading indefinitely;
- Whether the image has severe color distortion, blur, or frequent stuttering;
- Whether switching between cameras works correctly;
- Whether the reported resolution matches your device’s expected specifications.
If the camera will not open, first check your operating system’s privacy settings to make sure the browser has camera access. Then close any meeting or video apps that may be using it. If the webcam works in other software but not in one browser, the problem is more likely related to browser permissions or compatibility than damaged hardware.
3. GPU Test: View the Graphics Capabilities Available to Your Browser
The GPU Test displays WebGL, renderer, and browser graphics information, making it useful for confirming that hardware acceleration is available.
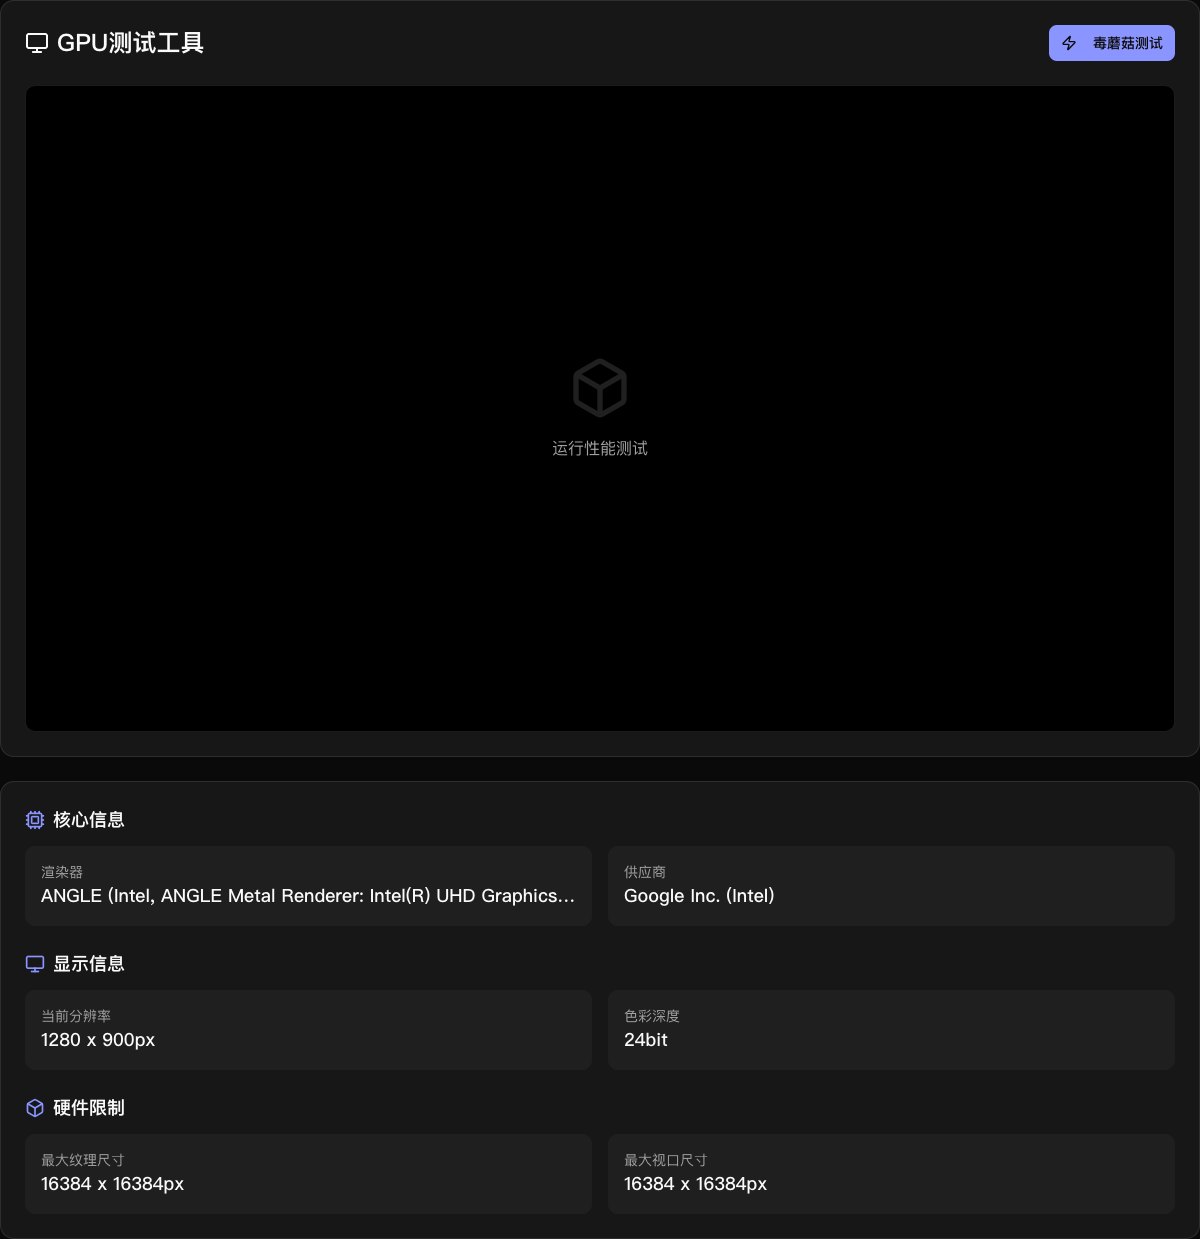
If the tool cannot create a WebGL context, renders incorrectly, or reports a software renderer, check the browser’s hardware acceleration setting and your graphics driver.
Keep in mind that a browser-based GPU test mainly answers one question: can the browser use the computer’s graphics capabilities correctly? It cannot test GPU temperature, video memory stability, or sustained performance under load. If you are buying a used graphics card or gaming laptop, run a dedicated stress test as well.
2. Test the Keyboard, Mouse, and Game Controller
Input device problems are often intermittent rather than complete failures. A key may occasionally miss an input, a mouse wheel may scroll in the wrong direction, or a controller stick may fail to return to center. Testing each control individually is more reliable than simply typing a few lines.
4. Keyboard Test: Check Every Key
The Keyboard Test shows key-down and key-up states on a virtual keyboard and displays the corresponding key codes.
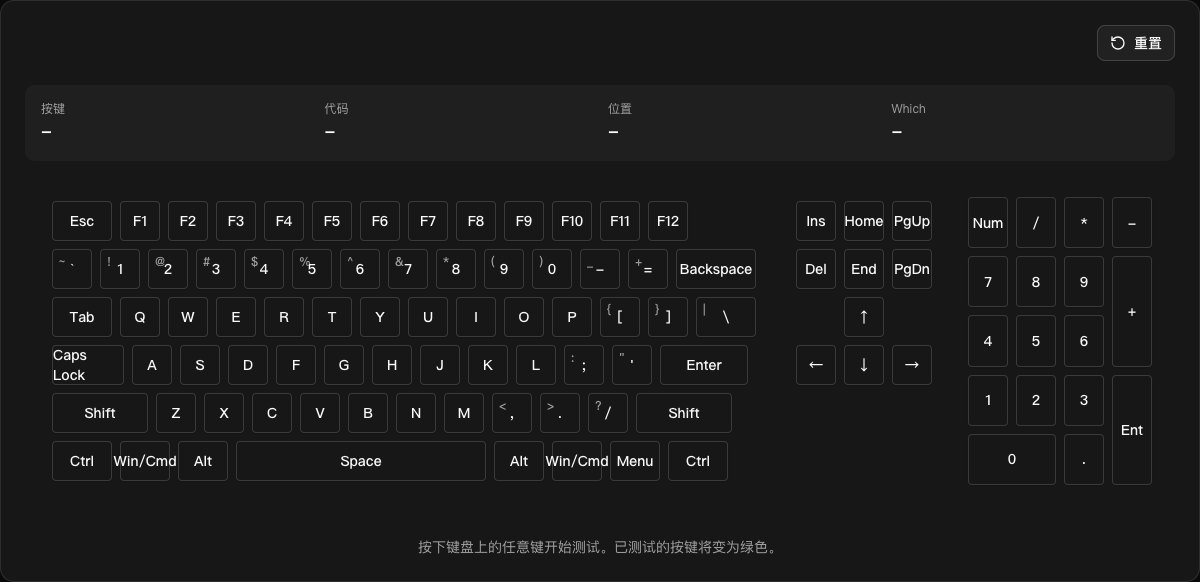
Use this testing order:
- Start with the letter and number rows, pressing every key in sequence;
- Check modifier keys such as Shift, Ctrl, Alt, Win, and Command;
- Test the arrow keys, function keys, and numeric keypad;
- Press common key combinations to check for input conflicts or limited key rollover;
- Test any suspicious key repeatedly.
If a key does not respond at all, try another browser. Some system shortcuts are intercepted by the operating system or browser, so a single failed browser test does not necessarily mean the keyboard is defective.
5. Mouse Test: Check Buttons, Scroll Wheel, and Middle Click
The Mouse Test records mouse buttons, scrolling, and pointer movement events.
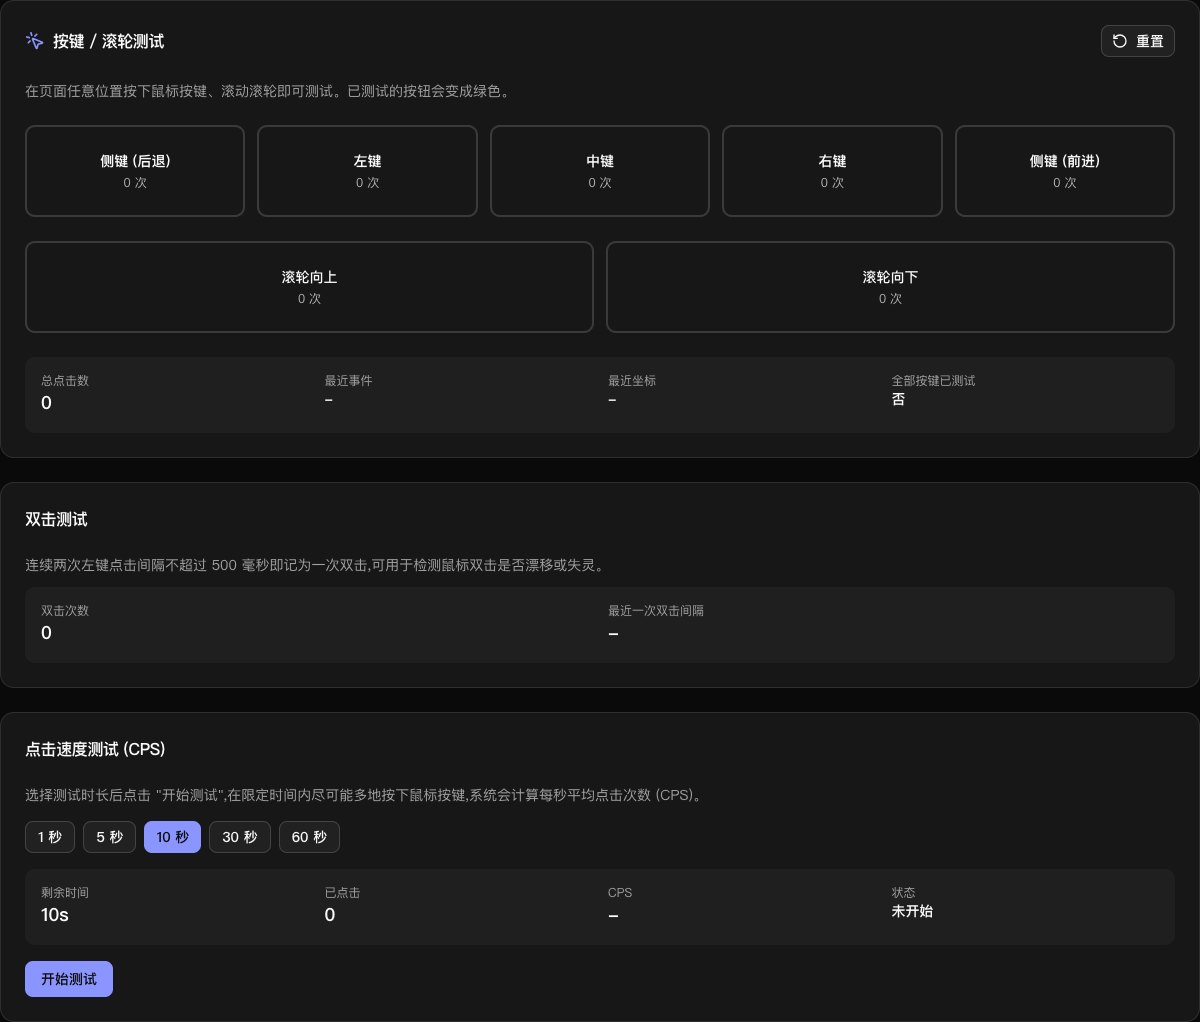
Do more than click the left and right buttons. Check whether:
- A single click is incorrectly registered as a double-click;
- The middle mouse button registers properly;
- The wheel scrolls in the correct direction both up and down;
- The browser recognizes the side buttons;
- The pointer jumps or skips during slow movement.
If a wireless mouse disconnects intermittently, replace or recharge the battery and move the receiver to another USB port. If the same problem occurs on multiple computers, the mouse itself is more likely to be faulty.
6. Click Speed Test: Check for Unwanted Double-Clicks
The Click Speed Test measures how many clicks you make within a set period. Although it is commonly used to measure clicking speed, it can also help identify unwanted multiple-click inputs.
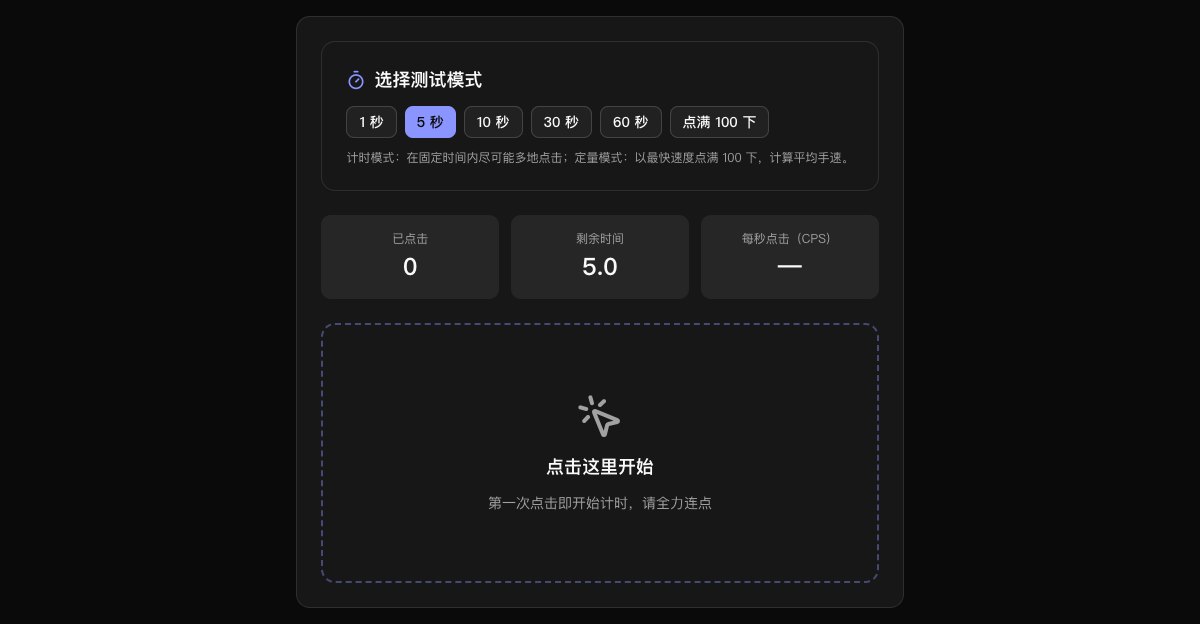
If one physical click is recorded several times, or the results vary dramatically between attempts, the cause may be a worn microswitch, the operating system’s double-click setting, or the browser’s current state. Cross-check the result with both the Mouse Test and Click Speed Test.
7. Gamepad Test: Check Buttons, Sticks, and Triggers
The Gamepad Test checks the buttons, analog sticks, triggers, and vibration support of USB and Bluetooth controllers.

After connecting the controller, press every button and slowly rotate both analog sticks. When released, each stick’s value should return close to its center position. A value that remains offset or continues changing while the stick is untouched may indicate stick drift.
Vibration support varies between browsers and operating systems. If the buttons and sticks work but vibration does not, verify it in a game or the operating system’s controller settings.
8. Keyboard APM Test: Check Rapid, Continuous Input
The Keyboard APM Test measures keyboard actions per minute. In addition to tracking input speed, it can reveal missed keystrokes during fast, continuous typing.
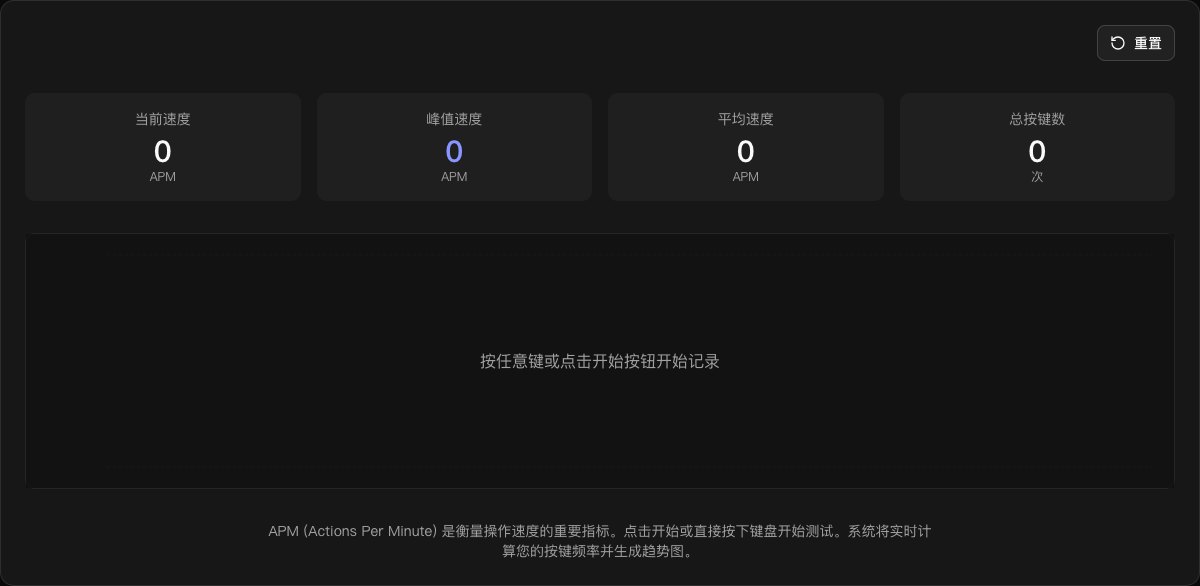
Run several short tests when checking a mechanical keyboard, gaming keyboard, or newly replaced switches. If the same key is repeatedly missed during rapid input, return to the Keyboard Test and inspect that key individually.
9. Reaction Time Test: Check the Overall Display and Input Experience
The Reaction Time Test records how quickly you click after a visual signal appears. It cannot precisely measure hardware latency, but it can help reveal obvious stuttering or input problems.

Run the test several times and focus on the consistency of the results rather than any single number. Background processes, browser load, display refresh rate, and your own condition can all affect the outcome.
3. Check Headphones, Microphones, and MIDI Devices
For video calls, live streaming, and recording, “connected” does not always mean “working correctly.” The system may have selected the wrong input device, or the left and right audio channels may be reversed.
10. Headphone Test: Verify Left and Right Stereo Channels
The Headphone Test plays separate test sounds through the left and right channels so you can confirm that both sides work correctly.
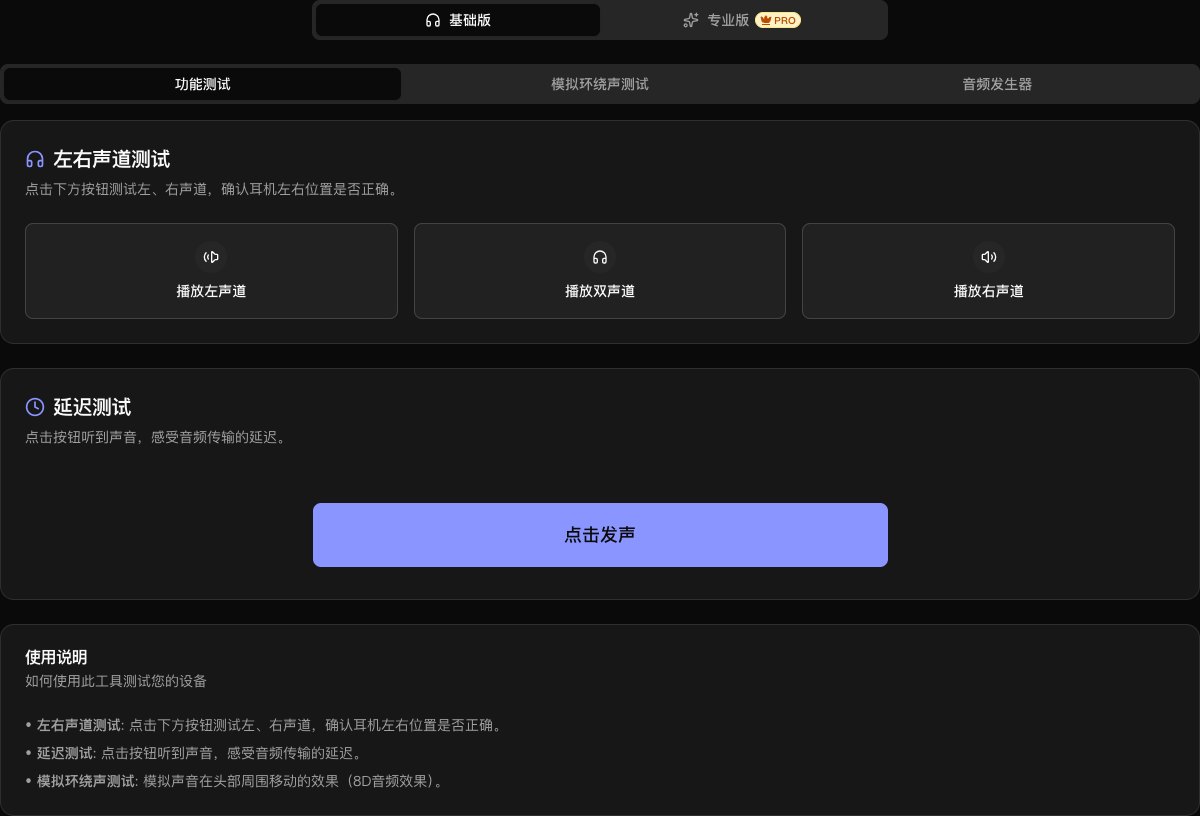
While wearing the headphones, confirm that the left test sound comes only from the left side and the right test sound only from the right. If the channels are reversed, check how you are wearing the headphones, any adapter cable, and the system’s channel settings. If one side is completely silent, try another port or device to isolate the cause.
Do not raise the volume suddenly during testing. Start at a low level to confirm playback, then increase it gradually to a comfortable volume.
11. Microphone Test: View Input Level and Live Waveform
The Microphone Test displays the microphone’s input level and a live audio waveform.
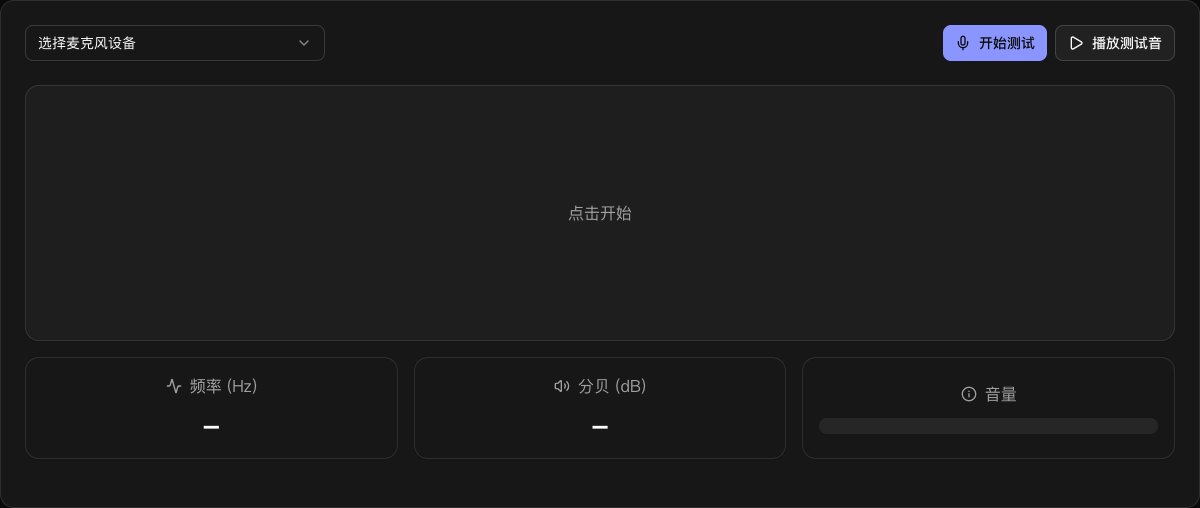
After granting microphone access, speak from your usual distance and watch whether the waveform responds. If it does not move, first check the input device selected by the operating system and the browser’s permissions. If the waveform is very small, increase the input gain or move closer to the microphone. Strong movement in a quiet room may indicate background noise, connection interference, or automatic gain control.
Granting permission does not automatically upload your browser audio. Even so, you can close the page after testing or revoke microphone access through the permission controls in the address bar.
12. MIDI Test: Verify Device Connections and Note Events
The MIDI Test is designed for digital pianos, MIDI keyboards, and controllers. Once connected, it shows whether notes, velocity data, and controller events are reaching the browser correctly.
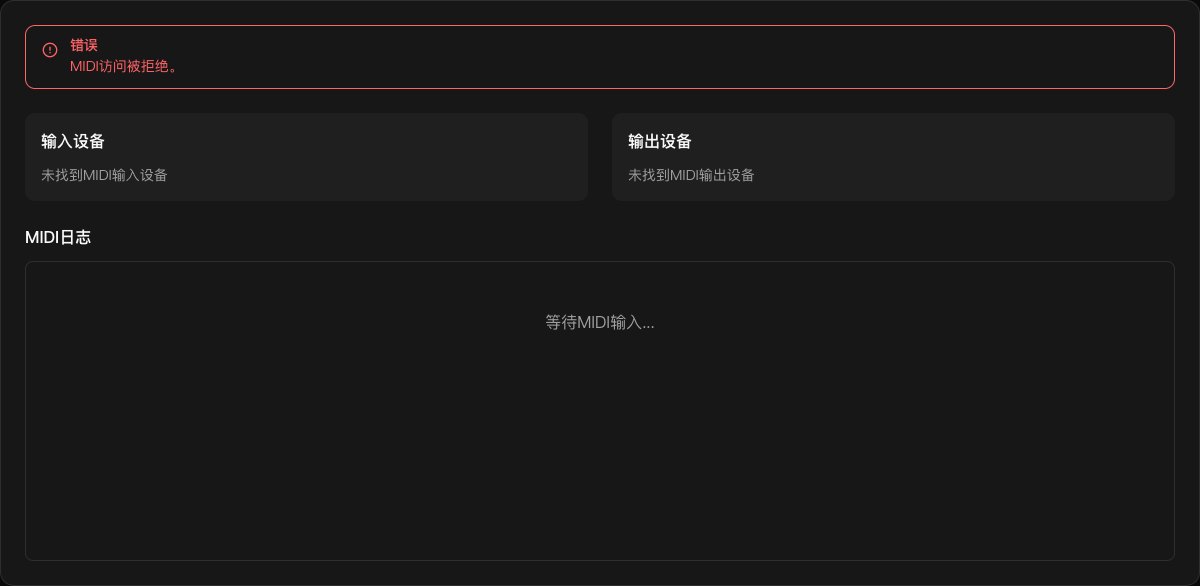
If the tool cannot find your device, confirm that the browser supports Web MIDI, the operating system recognizes the device, and another music application has not taken exclusive control of it. For the best results, use a Chromium-based desktop browser.
A 10-Minute Computer Inspection Checklist
If you want a quick process instead of researching every test, follow this order:
| Time | Test | What to Check |
|---|---|---|
| Minutes 1–2 | Dead pixel test | Bright pixels, dark pixels, discoloration, unusual lines |
| Minute 3 | Keyboard test | Missed inputs, repeated keys, key-combination conflicts |
| Minute 4 | Mouse test | Left and right buttons, wheel, middle click, unwanted double-clicks |
| Minute 5 | Webcam test | Permissions, video, sharpness, stuttering |
| Minute 6 | Microphone test | Selected input, volume, background noise, waveform |
| Minute 7 | Headphone test | Left and right channels, silent side, unwanted noise |
| Minute 8 | GPU test | WebGL, hardware acceleration, rendering problems |
| Minute 9 | Gamepad or MIDI test | Buttons, sticks, velocity, connection status |
| Minute 10 | Retest any problems | Try another browser, port, cable, or device |
When buying used equipment, run these tests in front of the seller and take photos of any problems. If you need to request a return or warranty service, screenshots can document the issue, but the final decision will still depend on the seller’s return policy and any professional diagnostic results.
Do Not Assume Every Failed Test Means Damaged Hardware
If an online tool reports a problem, troubleshoot it in this order:
- Refresh the page and confirm that the test has reset;
- Check the browser’s camera, microphone, and MIDI permissions;
- Make sure the operating system has selected the correct input or output device;
- Try another USB port, cable, or wireless receiver;
- Close meeting, recording, and gaming apps that may be using the device exclusively;
- Repeat the test in another browser;
- Connect the device to another computer for comparison;
- If the problem occurs consistently, update the driver or contact support.
The same symptom can be caused by hardware, drivers, permissions, browser compatibility, or another application using the device. Testing in a second setup is often more useful than immediately reinstalling the operating system.
Frequently Asked Questions
Do I need to install any software?
No. All 12 basic diagnostic tools run directly in your browser. The webcam, microphone, and MIDI tests require the relevant browser permissions.
Do these tests work on phones and tablets?
Some do, including the webcam, microphone, headphone, and screen tests. Keyboard, mouse, gamepad, and GPU testing generally works best in a desktop browser.
Will my audio or video be uploaded during testing?
These tests run primarily in your current browser. The webcam and microphone tools need access to live media streams, but they do not need to upload recordings for analysis. Always verify the domain in the address bar and grant permissions only to websites you trust.
Can an online test prove that a computer has no problems?
No. Browser tools are useful for basic functional checks, but they cannot fully test the battery, storage drive, memory, temperatures, fans, or long-term stability. For an expensive used computer, combine online tests with a system specification check, drive health diagnostics, and stress testing.
Final Thoughts
A good computer inspection is not about achieving a benchmark score. It is about checking every easy-to-miss component methodically.
After unboxing a new computer, spend ten minutes checking the screen, keyboard, mouse, webcam, microphone, and audio. You may catch a problem while the device is still within its return window. When buying used equipment, running the same checks in person is far more reliable than accepting a simple claim that everything “works properly.”
Bookmark the Device and Hardware Testing Toolkit for later. The next time your microphone has no sound, a keyboard key stops responding, your mouse starts double-clicking, or you suspect a dead pixel, you can open the relevant tool immediately without installing a full diagnostic suite.